The Art of Aerial Filmmaking: Tips From DJI Experts
Are you ready to take your aerial filmmaking skills to new heights?
In ‘The Art of Aerial Filmmaking: Tips From DJI Experts,’ you’ll get exclusive insights and expert advice from the industry’s leading professionals.
Whether you’re a seasoned filmmaker or just starting out, this guide will equip you with the knowledge and techniques you need to capture breathtaking footage from above.
From choosing the right drone to mastering flight control techniques, you’ll learn the secrets behind creating cinematic shots that will wow your audience.
With essential camera settings, composition tips, lighting techniques, and post-production advice, you’ll be well on your way to creating stunning aerial films that leave a lasting impression.
So, let’s soar to new heights and unlock the art of aerial filmmaking!
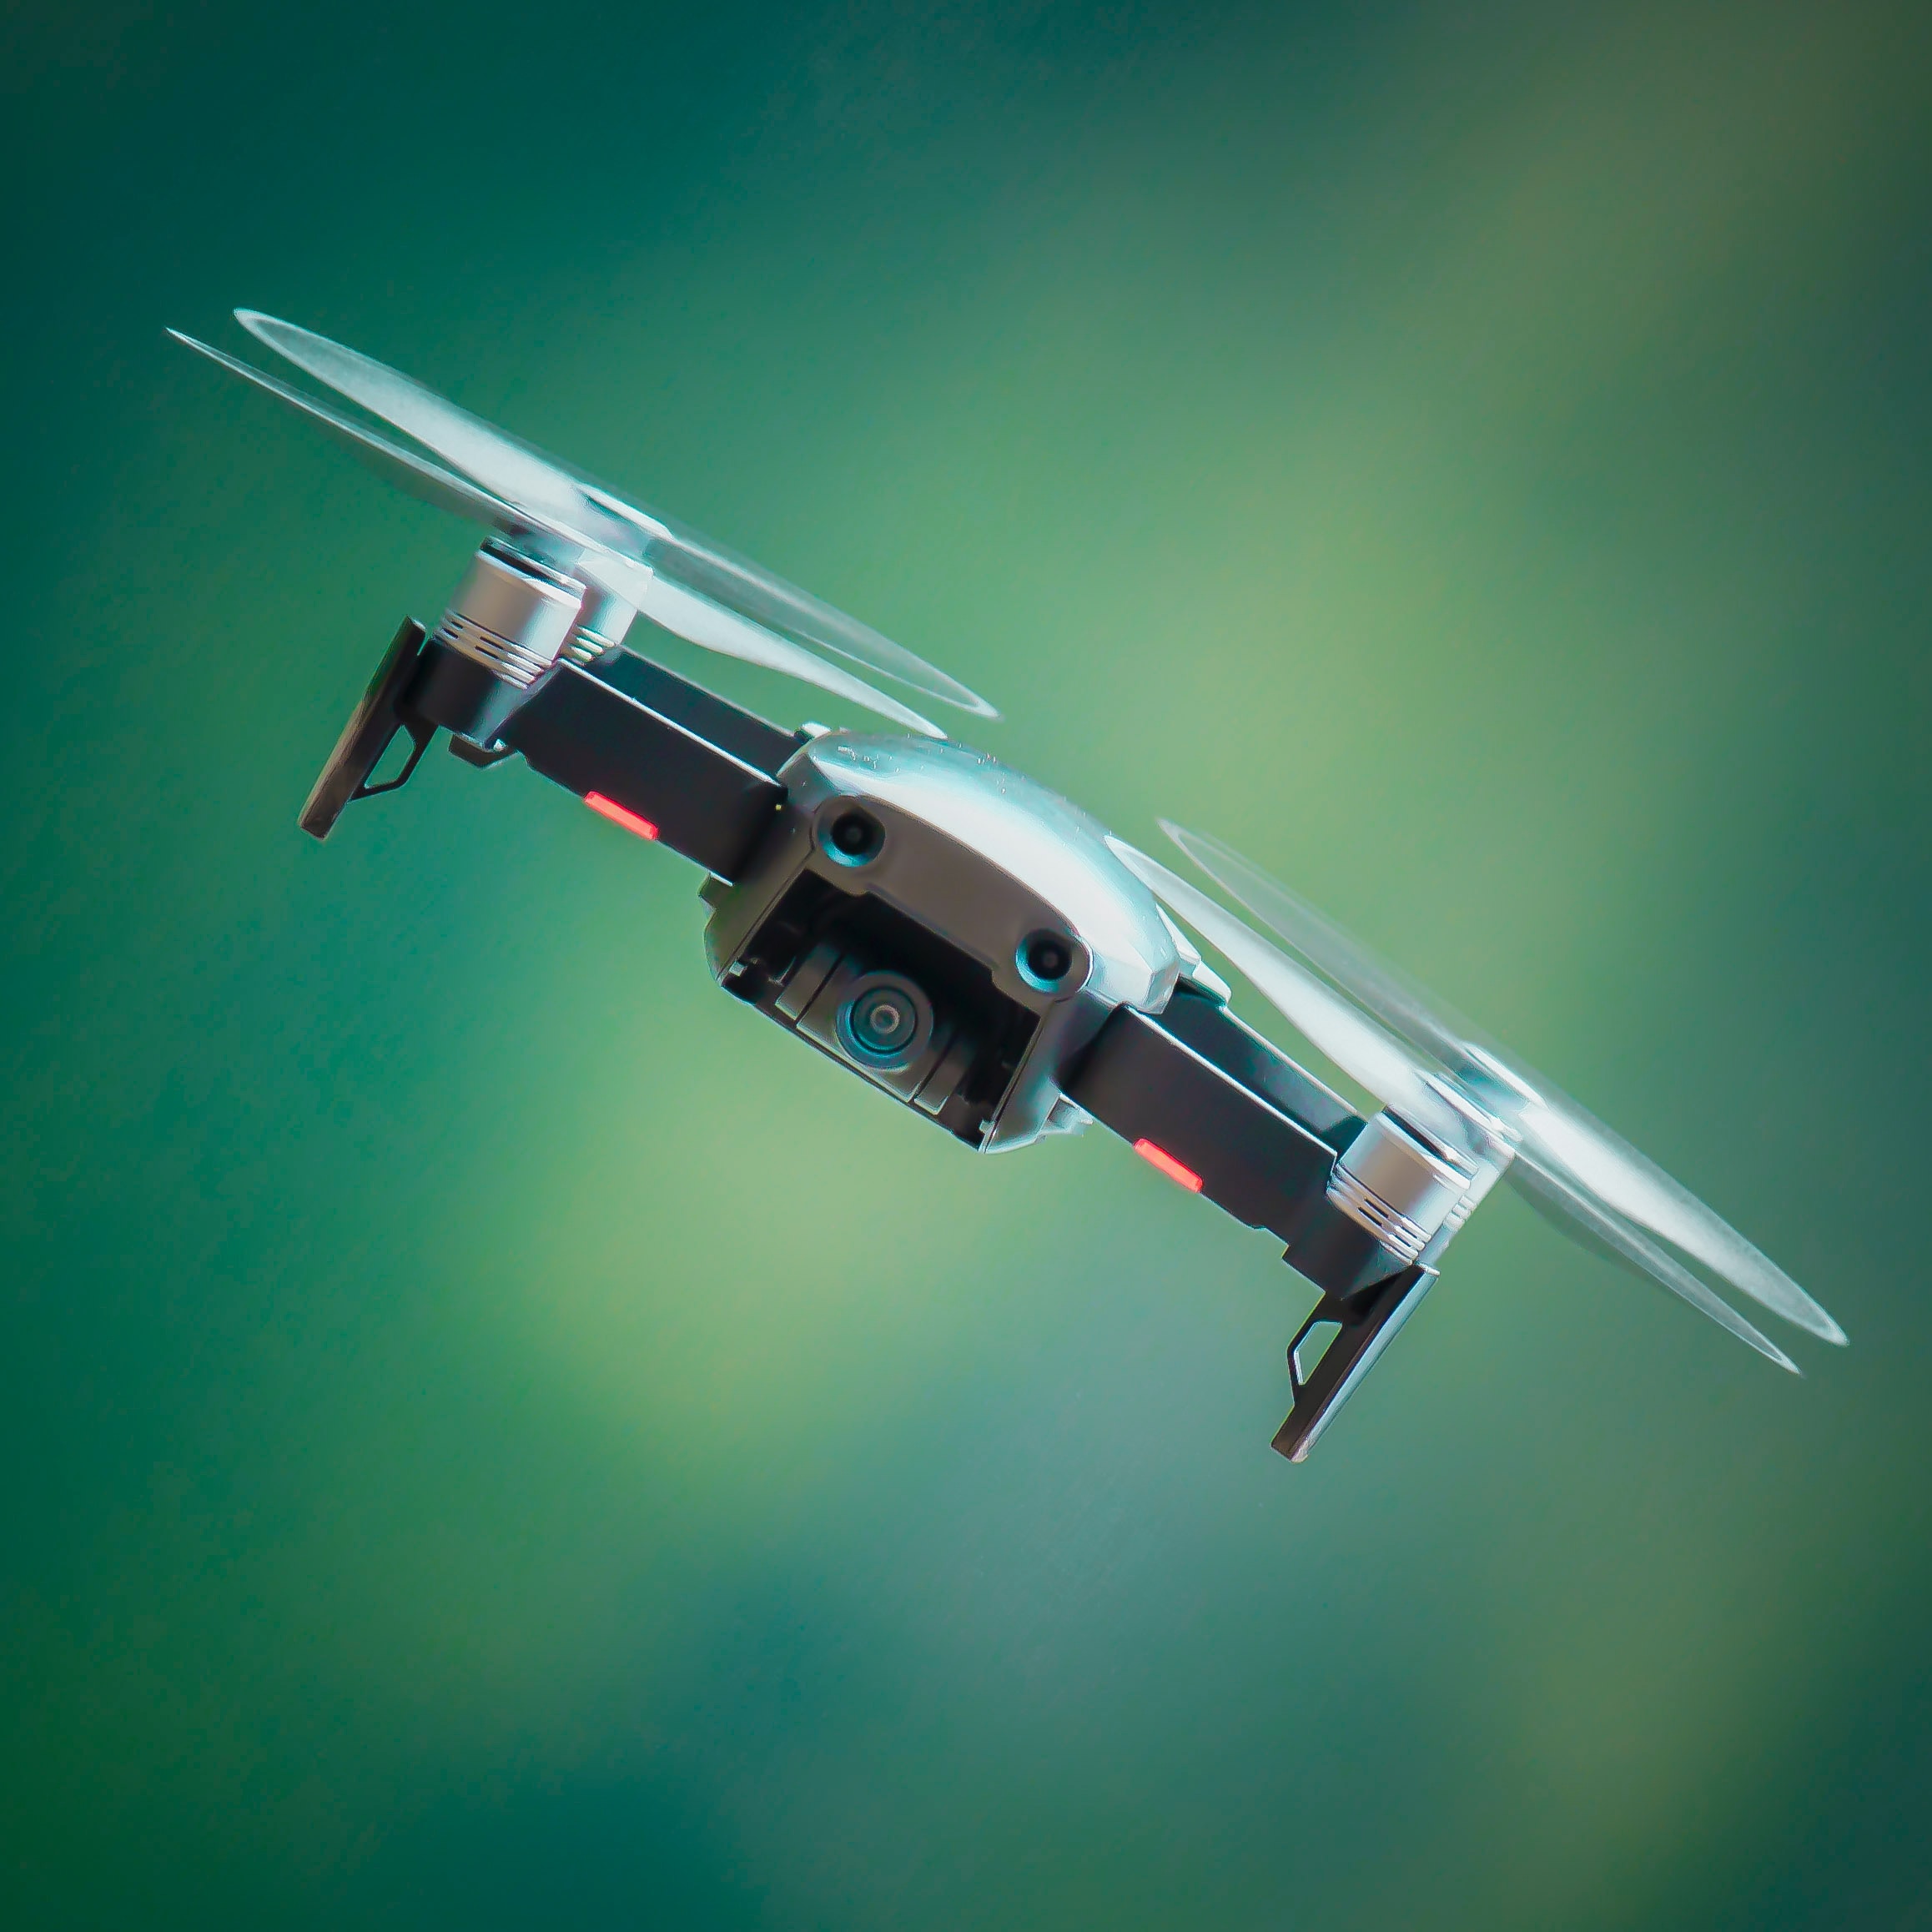
Choosing the Right Drone
When choosing the right drone for aerial filmmaking, you should consider the specific needs and requirements of your project. Think about the type of shots you want to capture and the level of control you need over the drone.
If you’re shooting in a confined space, a smaller drone with precise maneuverability may be ideal. On the other hand, if you’re filming in wide open spaces, a larger drone with a longer flight time may be more suitable.
Additionally, consider the camera capabilities of the drone. Look for drones with high-resolution cameras and advanced stabilization features to ensure smooth and professional-looking footage.
Lastly, don’t forget to factor in your budget. There are drones available at different price points, so choose one that fits within your financial constraints while still meeting your filmmaking needs.
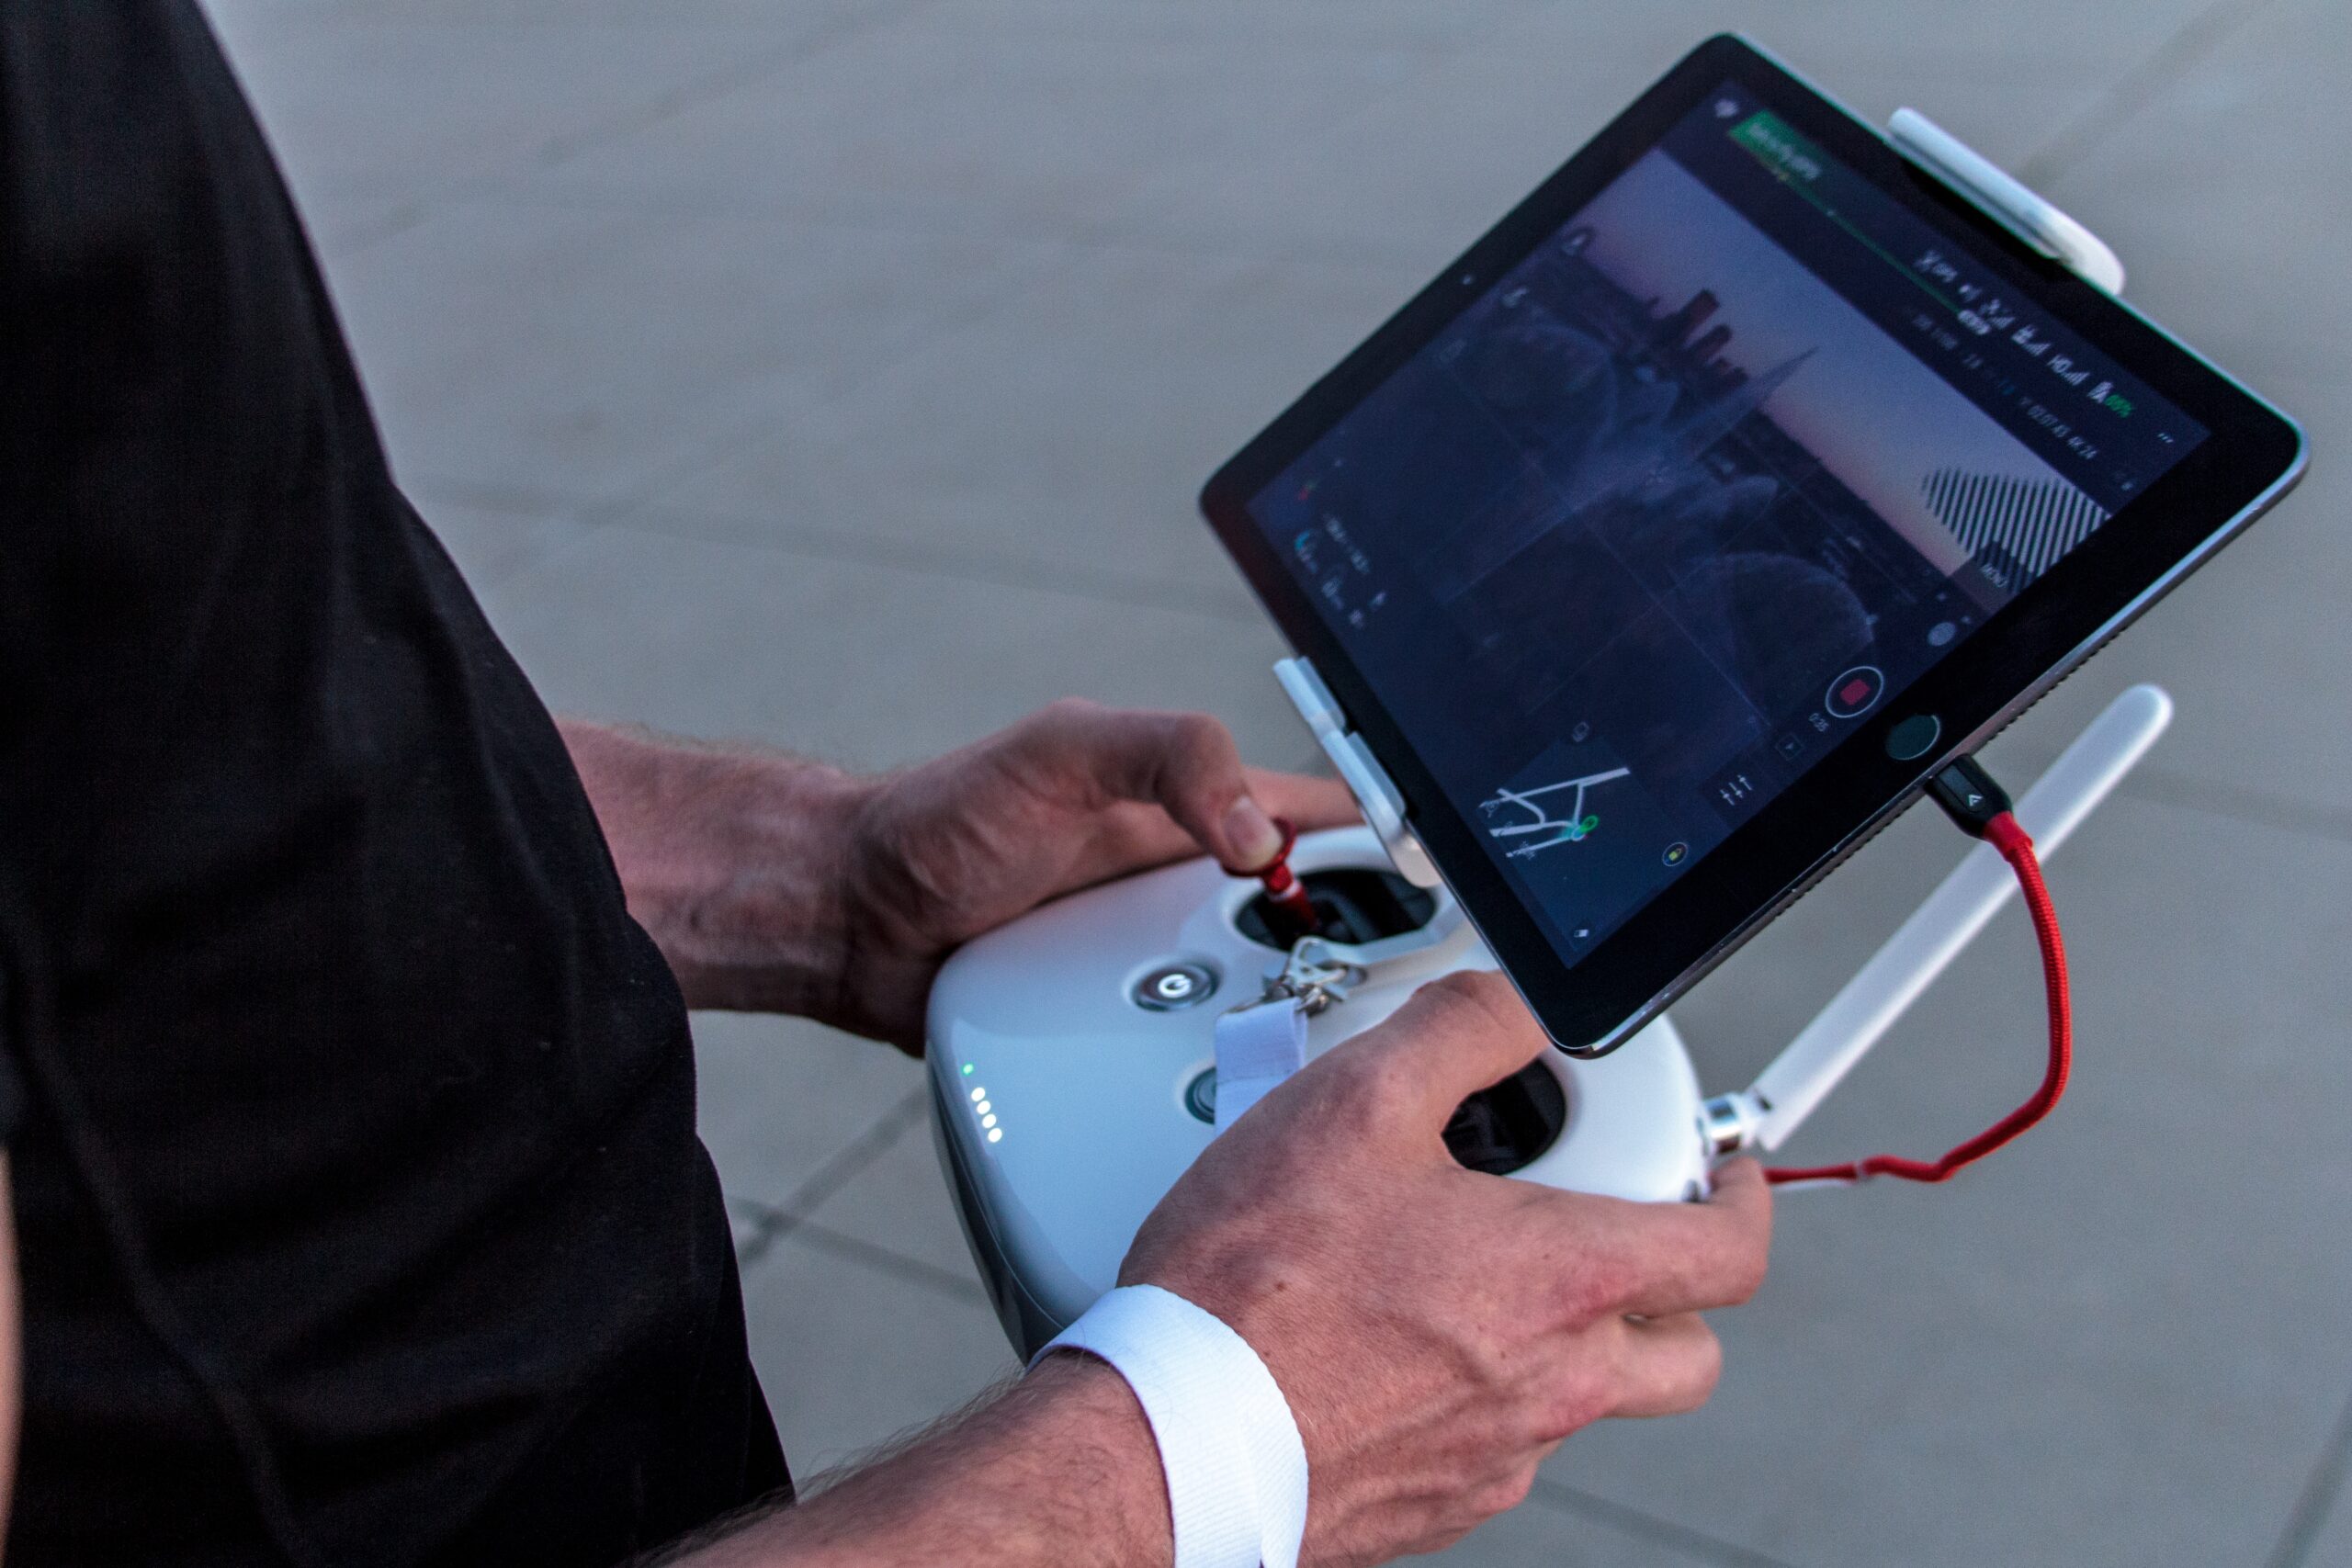
Mastering Flight Control Techniques
Are you looking to enhance your aerial filmmaking skills by mastering flight control techniques? As a filmmaker, it’s crucial to have complete control over your drone’s movements to capture the perfect shot.
One key technique to master is smooth and precise flight control. This involves understanding how to maneuver your drone smoothly and accurately, making subtle adjustments to maintain stability and control.
Another important aspect is learning different flight modes available on your drone, such as GPS mode, which helps maintain stability and position in the air.
Additionally, practicing manual flight control techniques, such as flying in different directions and performing smooth turns, will give you more creative freedom and allow you to capture dynamic shots.
Essential Camera Settings for Aerial Filmmaking
To achieve optimal results in aerial filmmaking, you should adjust the camera settings accordingly. Start by setting the resolution and frame rate based on your desired output.
For high-quality footage, choose a resolution of at least 4K with a frame rate of 24 or 30 frames per second (fps). Adjust the shutter speed to double the frame rate to avoid motion blur.
Use a low ISO setting to minimize noise and maintain image clarity. To capture a wider dynamic range, enable the camera’s HDR (High Dynamic Range) mode.
Additionally, consider shooting in a flat color profile, such as D-Log or Cinelike, to have more flexibility in post-production.
Composition and Framing for Captivating Shots
To create captivating shots in aerial filmmaking, there are two key aspects to master: composition and framing.
In terms of composition, it is important to consider various techniques such as the rule of thirds, leading lines, and symmetry. These techniques help create visual interest and guide the viewer’s eye through the frame. By experimenting with different angles and perspectives, you can add depth and dimension to your shots. Additionally, considering the foreground, middle ground, and background allows you to create layers and a sense of scale within your shots.
Framing is equally important in aerial filmmaking. Utilizing natural elements such as trees or architectural structures can help frame your subject and create a focal point. It is crucial to leave enough space around your subject to give it room to breathe. This balance between subject and negative space enhances the overall composition and visual impact of your shots.
Lighting Techniques to Enhance Your Aerial Footage
Enhance your aerial footage by utilizing the power of proper lighting techniques.
When filming from the sky, lighting becomes even more crucial to create visually stunning shots. One important technique is to shoot during the golden hour, which is the hour after sunrise or before sunset. This time frame offers soft, warm lighting that adds depth and beauty to your footage.
Another technique is to use fill lights to balance out shadows and highlight important details. This can be done by positioning the light source opposite the sun, creating a natural and pleasing illumination.
Additionally, using reflectors can help bounce light onto your subject, enhancing their visibility and creating a more professional look.
Post-Production Tips for Polishing Your Aerial Film
Now that you have captured stunning aerial footage using proper lighting techniques, it’s time to dive into the post-production process to polish your aerial film.
To start, import your footage into a professional video editing software like Adobe Premiere Pro or Final Cut Pro. Begin by organizing your clips and creating a rough sequence.
Next, focus on color grading to enhance the overall look and feel of your film. Adjust the exposure, contrast, saturation, and white balance to achieve the desired cinematic look.
Additionally, consider adding visual effects or transitions to make your footage more dynamic.
Lastly, don’t forget to carefully select and edit your audio tracks to complement the visuals. Pay attention to levels, mix in ambient sounds, and add music that enhances the mood of your film.
With these post-production tips, your aerial film will truly shine.
You May Also Like
10 Innovative Business Ideas Using Drone Technology
The Science Behind DJI Drones: How Do They Fly
